
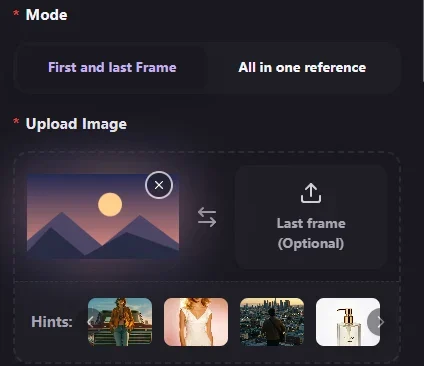
With an image as the first frame, your prompt can focus on what changes over time. Describe the movement you want, then name any part of the scene that needs to stay steady. Start with a short clip so you can judge the motion before spending more credits on a longer take.
Five prompts to adapt
| Shot | Prompt | What to review |
|---|---|---|
| Slow push | Slowly push the camera toward the sun above the mountains. Keep the horizon level. | Watch the edges of the mountains for changes in shape. |
| Sideways pan | Pan slowly from left to right along the street. Keep the camera level and maintain the lighting. | Check how the model fills the newly visible edge of the frame. |
| Product reveal | The camera slides slightly to the right to reveal the side of the mug. The mug stays in place. | Look for changes to the handle, silhouette, or label. |
| Portrait | The subject turns their head slightly toward the light. Keep the camera still. | Compare facial details in the first and final frames. |
| Moving background | The curtains sway gently. Keep the table and the camera still. | Check that motion stays in the curtains. |
Fix one problem at a time
If the model moves the wrong thing, name the subject of the movement explicitly. “Move slowly toward the window” leaves the actor unspecified. “The camera moves slowly toward the window” makes the instruction easier to evaluate.
If a detail changes shape, reduce the movement or simplify the prompt. Try the same input image and settings for the second take. With one change between clips, you can judge whether the revision made a difference.
Open the image-to-video generator to try a prompt. The first-frame tutorial shows an actual five-second result from the sunset example.