
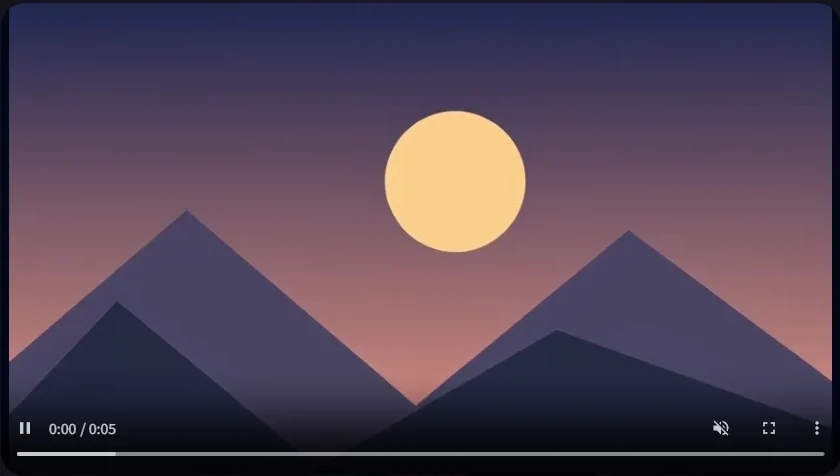
Start by identifying when the clip changes unexpectedly. Pause at the opening, halfway through, and near the end. Compare each frame with the still you uploaded. The timing of the change helps you decide what to adjust.
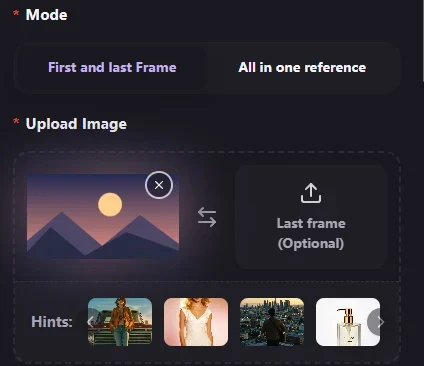
Use the source as your reference and pick a few details you can find again in the preview. In the sunset example from the main tutorial, the sun, horizon, and ridges give you fixed points to compare. The images on this page show the input and the generated preview from that walkthrough. Use them to practice looking at the same detail before and after generation.
If the framing jumps at the start
Compare the source ratio with the output ratio. Crop the still to the intended shape before uploading it, then check the thumbnail in the first-frame slot. If the crop matches but the opening still jumps, simplify the prompt and ask for a steady composition before the motion begins.
Try wording that gives the opening its own instruction. “Begin with the framing of the uploaded image. Hold the horizon level as the camera slowly pushes toward the sun.” Then pause during the first second and compare the edges with the source. If the clip starts tighter than expected, give the source more margin and repeat the same move. This helps you separate a crop problem from a motion problem.
If the subject changes during the shot
Look at the same feature at each pause point. A handle, collar, or horizon line makes a useful reference. If the shape drifts as the camera turns, reduce the amount of movement. A small push or slide gives you a simpler test than a wide orbit that reveals parts of the subject outside the source image.
Name the feature that needs to stay stable. For a bottle, try “The bottle stays upright with the same silhouette and cap. Move the camera slightly to the right.” For a portrait, try a small turn of the head and describe the hair, clothing, or outline you want to preserve. Avoid combining a subject turn with a big camera move until you have seen what each instruction does on its own.
If the camera drifts or the background slides
Watch the edge of the frame and a point in the distance. A horizon that tilts or a wall that slides sideways can make a shot feel unstable even when the subject looks right. Decide which movement you asked for and which movement appeared on its own. When only the curtains should move, say “Keep the camera and furniture fixed. The curtains sway gently.” When the camera should move, describe the direction and add a stable visual reference, such as a level horizon.
If the frame still wanders, choose a shorter take and try less movement. Compare the beginning and end at normal playback speed. A small amount of motion may be enough when the shot will appear as a cutaway. Keep the version that reads clearly in context.
If words or logos distort
Check text at the intended display size. If it must stay exact, add the wording in an editor after generating the clip or cut to a still when the audience needs to read it. You can also make the subject larger in the source and test a gentler move, then compare whether the letters stay readable.
When you do test the label in motion, give the prompt a narrow instruction. “Keep the front label facing the camera and preserve its position. Use a gentle forward move.” Check the start, middle, and end of the generated clip. If the label changes as soon as the view shifts, treat the original still as the reliable source for exact lettering. Leave enough room in the edit to show the still where it matters.
When to use a first and last frame
Keep a single first frame when you care about the opening and have flexibility about where the shot ends. This is usually enough for a steady push or a small movement inside the frame. If the output misses a specific closing composition, look for a model with a last-frame input. Add a second image that shows the intended end view, using a similar aspect ratio, subject position, and lighting.
Review the middle of a two-frame clip carefully. Two endpoints can guide the composition, but the generator still has to produce the frames between them. If the subject bends or jumps in the middle, use a closer pair of frames or split the movement into two shots. A very different final angle may be easier to show with a cut.
The first and last frame guide covers how to choose the two inputs. For a motion-only revision, keep the same first frame and test one of the motion prompt examples before switching modes.
Keep one variable fixed at a time when you retry. Use the same image and settings when changing only the prompt, or use the same prompt when testing a different crop. The image-to-video workspace lets you preview the result, and the first-frame tutorial walks through the complete process.